-
Fly only within the limits of recreational flight
-
The first thing to do – register your drone
-
Take the TRUST
-
Read up on airspace rules
-
Read the instructions and manual
- Battery life
- Maximum range
- Maximum wind speed
- Obstacle avoidance
- Return to home function
- Startup procedure
- Flight modes
-
Understand the controller
- Pitch
- Roll
- Yaw
- Throttle
-
Charge the batteries
-
Consider buying insurance
-
Basic accessories to consider
- Spare batteries
- Spare propellers
- Landing pad
- Sun hood
-
Find a wide, open space to practice
-
Try these 15 basic maneuvers
- Straight flight
- Vertical box
- Climb and travel
- Reverse sensing
- S-Turn
- Rectangular pattern
- Rounded corner rectangular pattern
- Vertical triangle
- Follow with yaw
- Orbit
- Forward reveal
- Corkscrew
- Zoom reveal
- Yaw and reveal
- Tracking
-
Final thoughts
If you want to know about the basic maneuvers that will help you become a drone pilot, we have a video tutorial up on our YouTube channel and a more comprehensive Drone Maneuvers Mastery course. Drone pilots flying for public safety agencies may also benefit from our NIST UAS Made Easy course.
Did you take advantage of this year’s Black Friday sales to buy a drone for the first time? Or have you received a drone as a gift? In any case, flying a drone without any prior experience may seem like a daunting task.
Before you fly your drone for the first time, read through this quick guide we have made for all beginner drone pilots. What do you need to know before your first flight? What is the best way to learn how to fly? Those questions and more will be answered below.
Fly only within the limits of recreational flight
If this is your first time flying a drone, then it’s reasonable that you will be doing it under recreational rules. This strictly means that you are flying the drone only for fun. Any photos that you take while flying cannot be sold, printed in a publication, or used as an advertisement.
By default, all drone flight in the US takes place under the 14 CFR Part 107 the “Small UAS Rule”. This is a set of rules that the FAA has created for commercial drone flight in the US. Flying a drone under commercial rules requires passing a knowledge test and earning a remote pilot certificate. This is a process that can take several weeks. You won’t need to go through this if you’re just flying for fun.
The rule for recreational drone flight is Section 44809 or the “Exception for limited recreational operations of unmanned aircraft”. As the name implies, this rule is literally an exception – unless your operations qualify under Section 44809, then you will be flying under Part 107 rules. If you don’t have a remote pilot certificate, then flying under Part 107 is illegal.
How can you make sure that you qualify to fly under Section 44809? The most important qualifier is that the drone is flown STRICTLY for recreational purposes. You cannot earn money with any data, photo, or video that you capture flying the drone. You also cannot use the drone or any material to further a business.
Aside from the basic qualifier, there are a few steps you need to take to make sure that you comply with Section 44809. We’ll get to those shortly.
The first thing to do – register your drone
If your drone weighs more than 250 grams or 0.55 lbs., then you will need to have it registered with the FAA before you can fly it. This goes for a majority of the popular drones being sold nowadays. The take-off weight of your drone should be clearly indicated in its spec sheet.
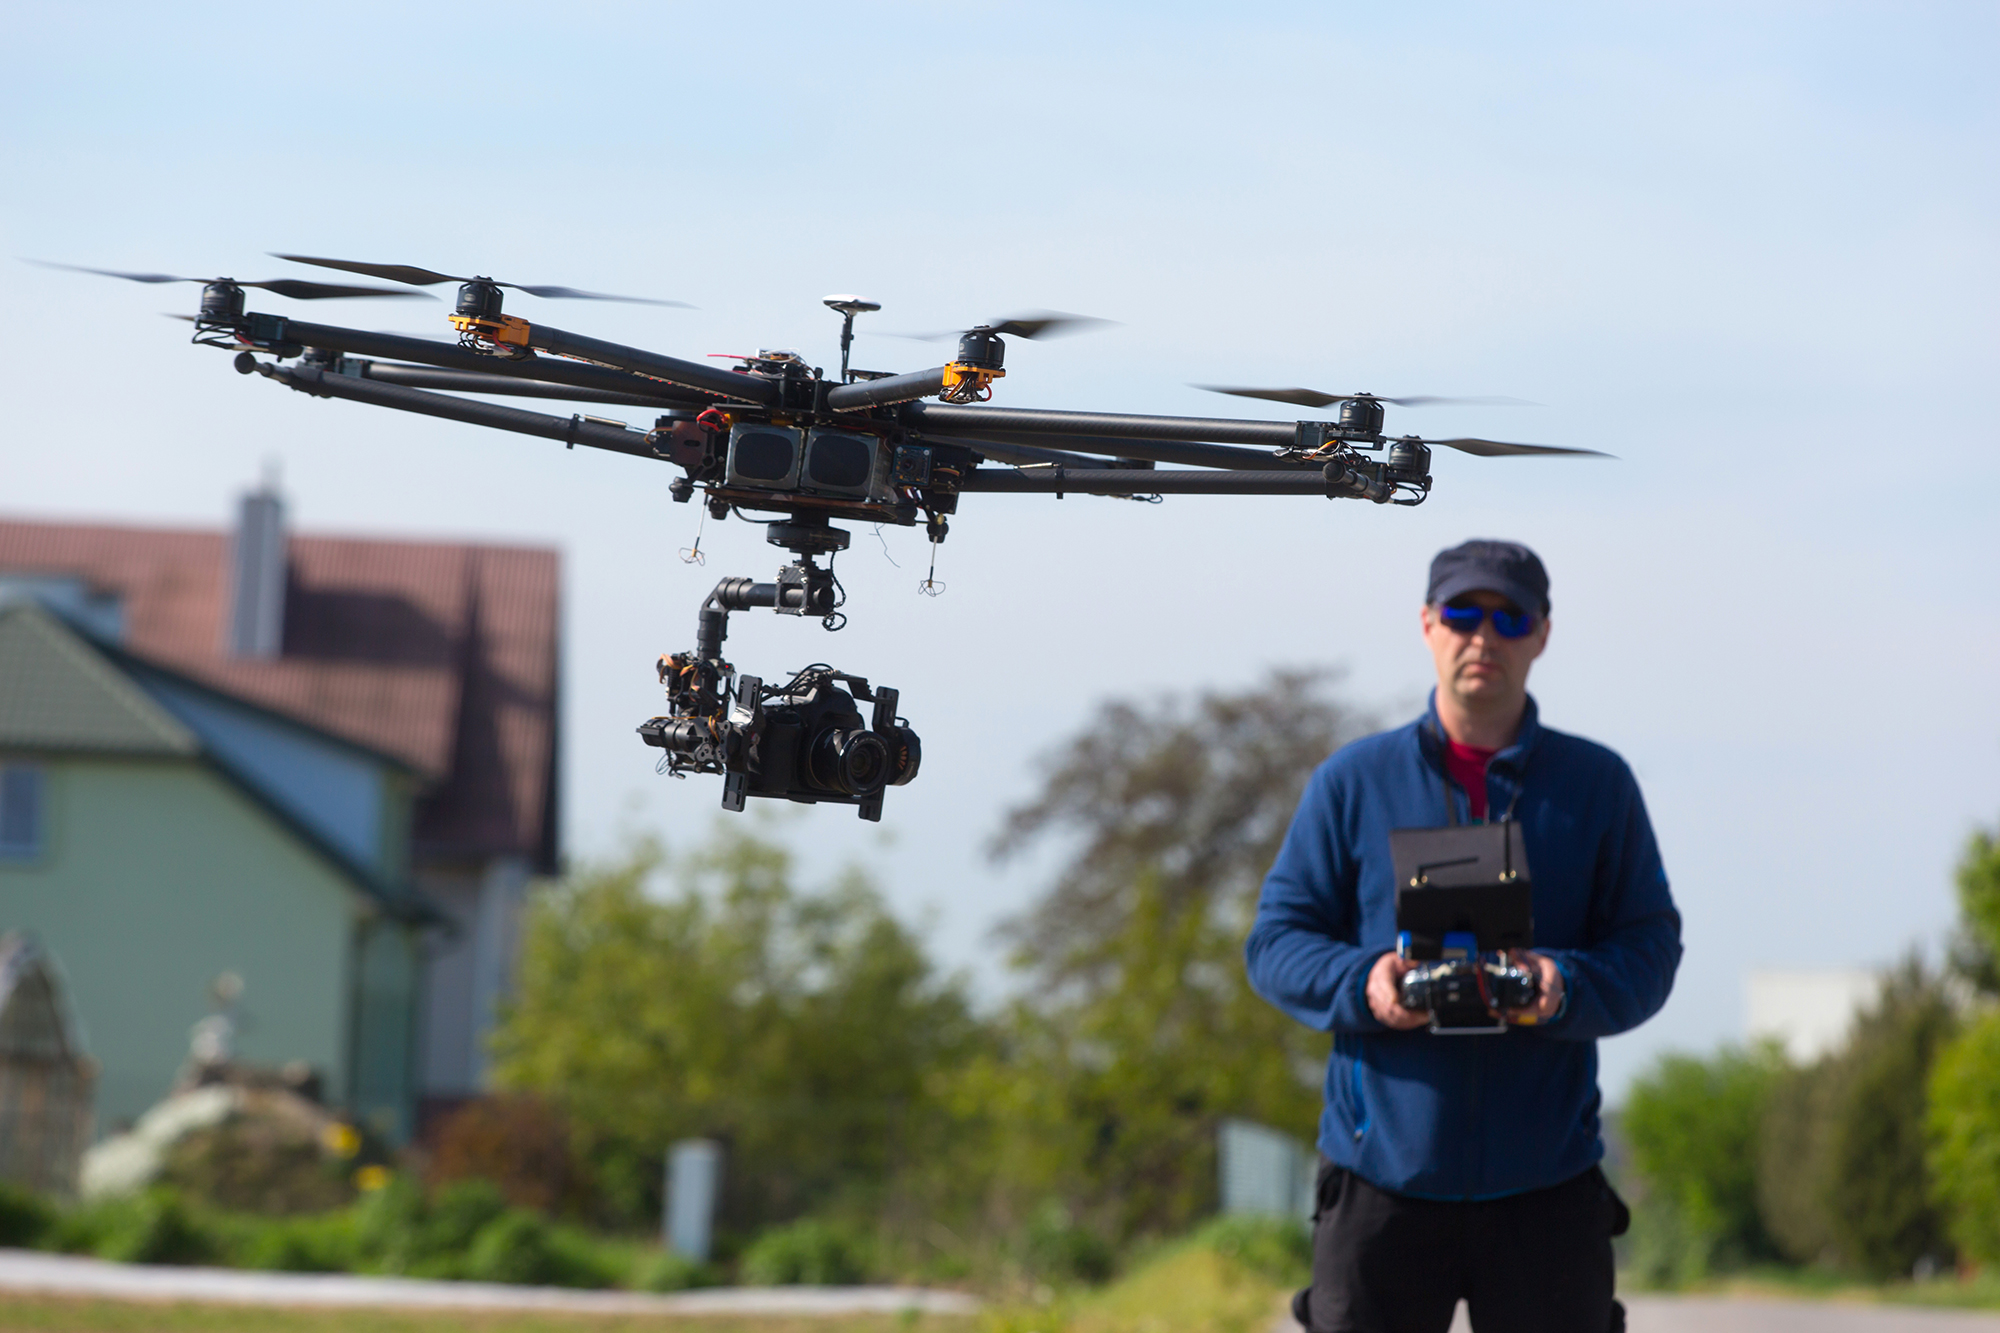
To register your drone, just go to the FAADroneZone website and press the option to register under the “Exception for Recreational Flyers”. Follow the on-screen instructions to complete your registration. You will need to be at least 13 years of age for drone registration. Just fill in the personal details and pay the $5 registration fee.
Once the drone has been registered, you are required to mark the drone with the corresponding registration number. You can do this easily with a permanent marker. If you have the time, printing out a sticker to place on the drone will look a lot cleaner. Make sure to place the mark on a spot that is easily visible if the drone has to be inspected.
Take the TRUST
One of the more recently implemented requirements for recreational drone pilots is to take The Recreational UAS Safety Test (TRUST). This online test is a requirement of Section 44809 that helps the FAA educate recreational drone pilots about basic flight safety rules. The test is completely free and takes less than 30 minutes.
Pilot Institute has been authorized by the FAA as one of the Test Administrators for TRUST. You may take the TRUST right here. Don’t worry about having to prepare or study – you literally cannot fail the test. You can reattempt every question in the test until you get the correct answer.
Once you have completed the test, you will be given a certificate of completion. Save this certificate on your computer and print a copy to bring with you when you fly your drone. The TRUST portal does not store any of your personal information, so it will no longer be possible to retrieve the certificate should you lose all of your copies.
Read up on airspace rules
Airspace is one of the most important things that a drone pilot needs to learn. This is already covered by TRUST, but we think that it’s worth the time to go on a more in-depth explanation.
There are different categorizations of airspace and these are identified using an alphabet-based system. Class A airspace is not relevant to drone flight because it is at an altitude beyond what a drone can reach.
Class B, C, D, and E airspace are types of ‘controlled airspace’ that drone pilots have to be concerned with. These are typically areas near airports where unusually high air traffic is expected. Drone flight in these airspace types is regulated to make sure that are no close encounters between drones and manned aircraft.
Class G airspace is referred to as ‘uncontrolled airspace.’ There is no need to seek permission to fly drones in Class G airspace as long as you remain within the 400-foot altitude limit.
There are also places where drone flight can be prohibited for a limited time. These areas are covered by Temporary Flight Restrictions (TFR) that are publicly broadcast. The reasons for declaring a TFR can range from the presence of the President to emergency response or massive crowd-drawing events.
If you want to check for the location and extent of controlled airspace, as well as for TFRs, then it’s best to use a mobile app or website that provides real-time airspace information. Aloft is a very good website that should provide all the information that you will need in an interactive map. Apps like Airmap, Hover, and UAVForecast also fulfill this function.
For your first few flights, we recommend skipping the hassle of having to request airspace authorization and just flying in uncontrolled airspace. Look for a large park, field, or empty lot where you can practice without having to worry about airspace restrictions. If you’re flying in a public park, take the time to ask the park administration first if they allow drone flight.
Read the instructions and manual
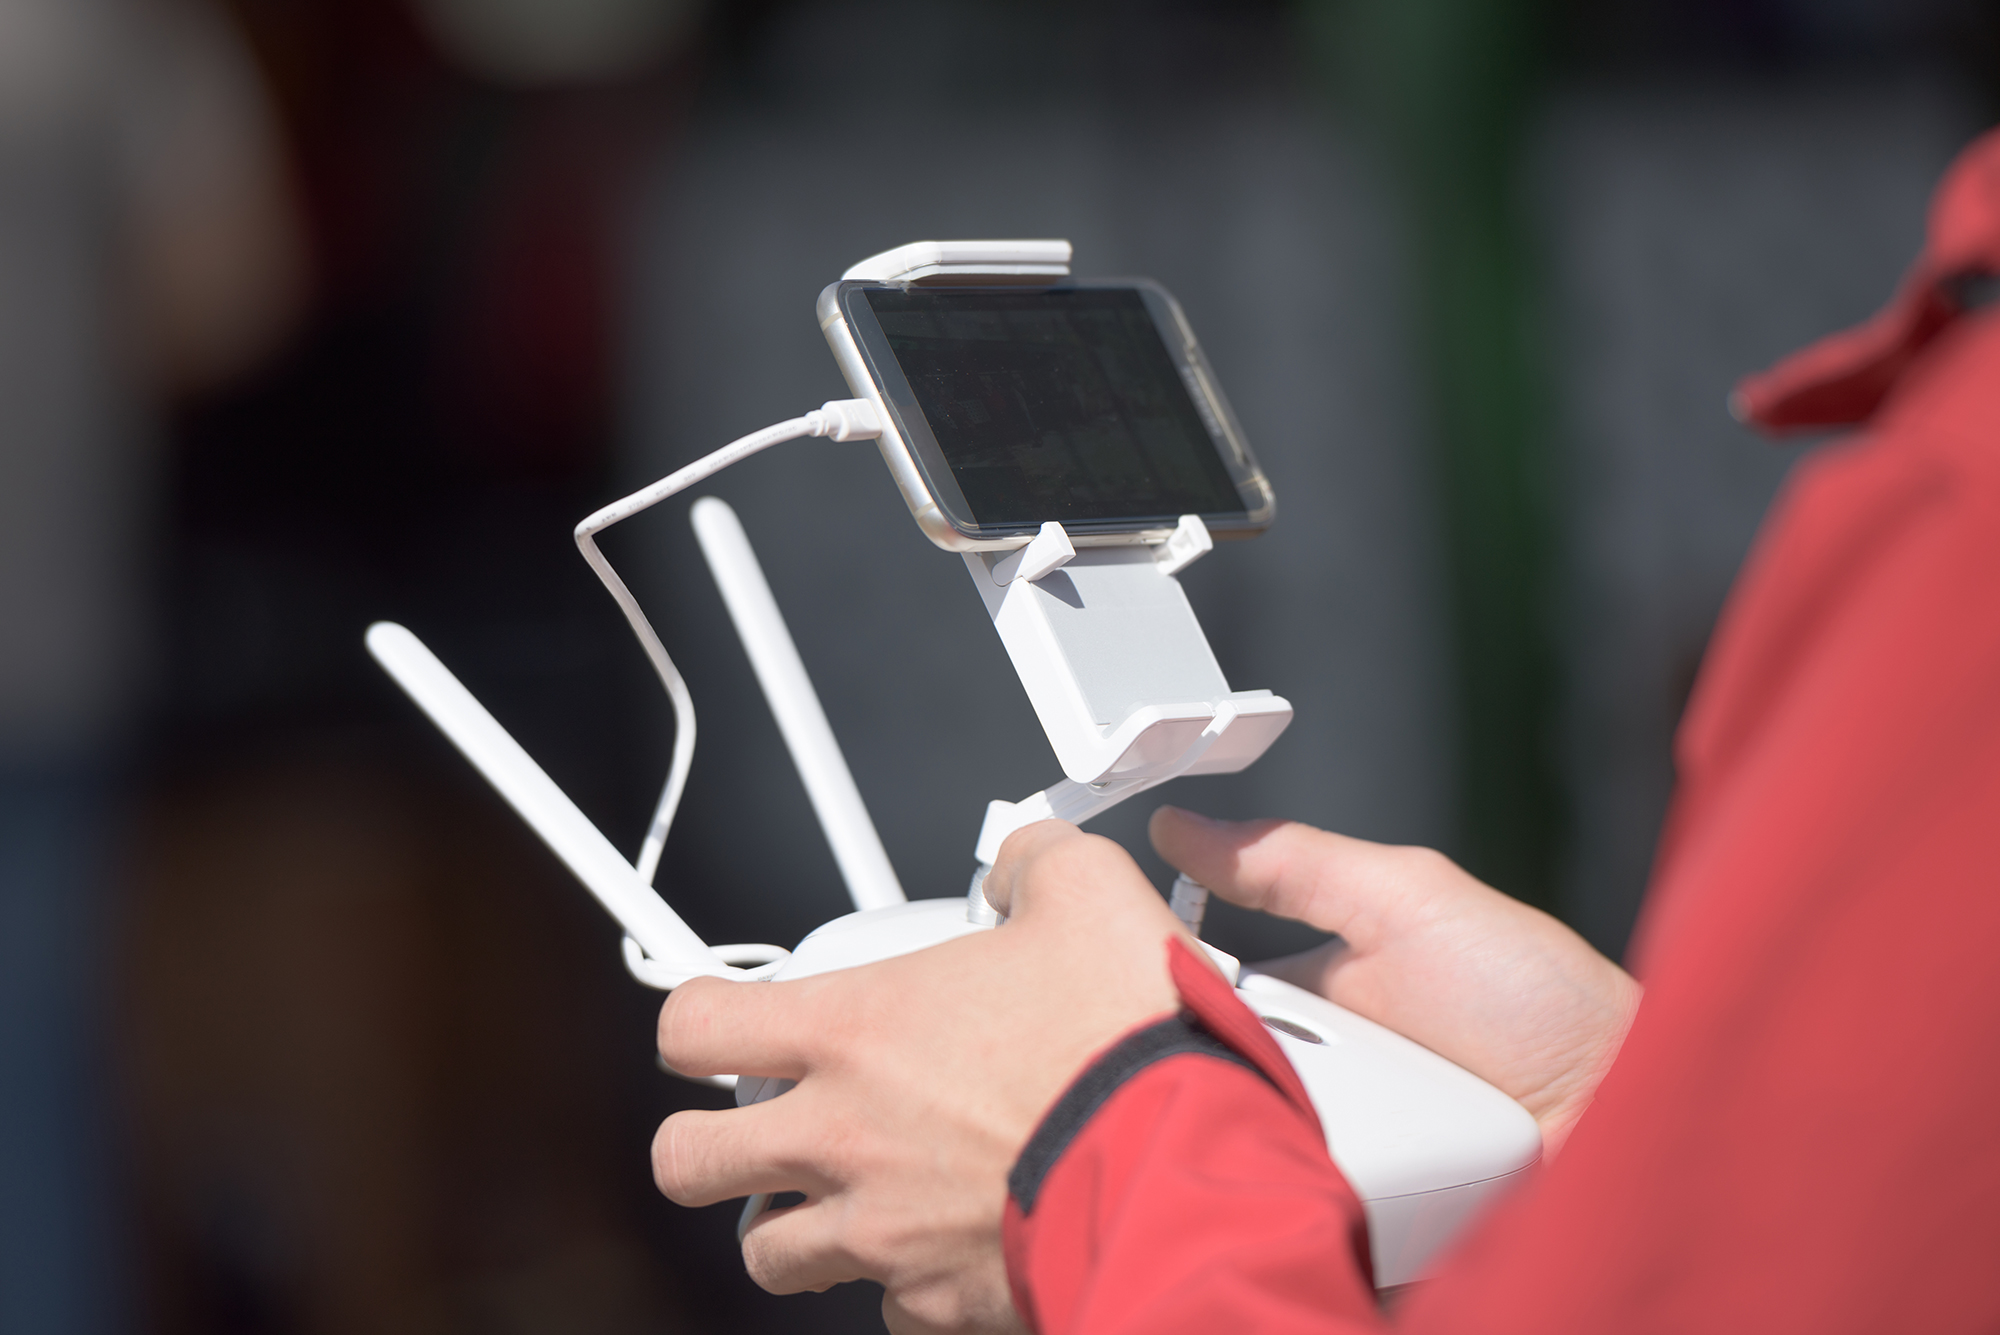
Now that we’re done complying with the rules, it’s time to focus on your drone. Before your first flight, it’s a good idea to learn as much as possible about your drone. Most notably, you will want to learn about features that help keep your drone safe, as well as the drone’s hard limits. We recommend going through the manual cover to cover while taking note of these details:
Battery life
Your drone has a limited battery life, typically between 25 to 35 minutes. While the controller should have some sort of battery life indicator, it still does not hurt to take a mental note of exactly when your drone’s battery will run out, so you know to fly it back ahead of time.
Maximum range
Each drone has a maximum control and video transmission range based on its transmission technology. You probably won’t be pushing this range on your first few flights, but it’s still good information to know. Modern drones typically have effective ranges of a few miles – way beyond what you should be flying as a beginner.
Maximum wind speed
Drones are designed to maintain a stable position and flight path using their motors coupled with GPS stabilization. However, there’s still a chance that a drone can drift away if it has to fly against a very strong wind. The maximum rated wind speed of a drone is a function of its size and the power rating of its motors. Make sure to check the wind speed on the days of your training sessions just to know if your drone can handle it.
Obstacle avoidance
Many drones nowadays are equipped with an array of sensors that can detect any obstacles in the environment. The drones use these to avoid obstacles either by stopping the drone immediately or automatically creating an alternative safe path.
If your drone has such a feature, you will want to see which sensors are being used, the range of these sensors, and where they are located. This will allow you to identify any blind spots in your drone’s obstacle avoidance system. Just keep in mind that an obstacle avoidance system is no substitute for maintaining visual contact with the drone and scanning its immediate surroundings for potential obstacles.
Return to home function
One of the most important safety features of almost any drone is its Return to Home (RTH) function. This is the mode that the drone will automatically revert to should it detect a low battery level or if it loses a connection with your controller. Take the time to understand how to set up RTH for your drone and how its parameters can be customized.
Startup procedure
When you power on your drone, it usually goes through a standard check procedure to make sure that its parts are functioning well. This usually includes the gimbal moving around its maximum range of motion. The drone will also attempt to get a stable connection with a specific number of GPS satellites. Read up on how this startup procedure happens and how to tell if the drone is ready.
Flight modes
Most drones nowadays offer alternative flight modes that typically have different maximum speed values. The baseline flight mode is usually referred to as “P-Mode” and puts a moderate cap on flight speed to capture cinematic photos and videos. If you want to unlock the drone’s fastest speed, you will have to set it to “S-Mode” or “Sport Mode”.
Of particular interest are drones that offer a “Beginner Mode.” In this mode, controller sensitivity and flight speed are drastically reduced to make flight training easier. It also limits how far away the drone can fly from you to avoid any accidents.
Understand the controller
Controller layout may vary from one drone to another, but one thing they all have in common is that they have two analog sticks. These sticks work the same regardless of what drone you are using. Reading up on how these sticks control your drone is clearly not enough to build your skill – practice is irreplaceable. However, a bit of knowledge before you start practicing will not hurt.
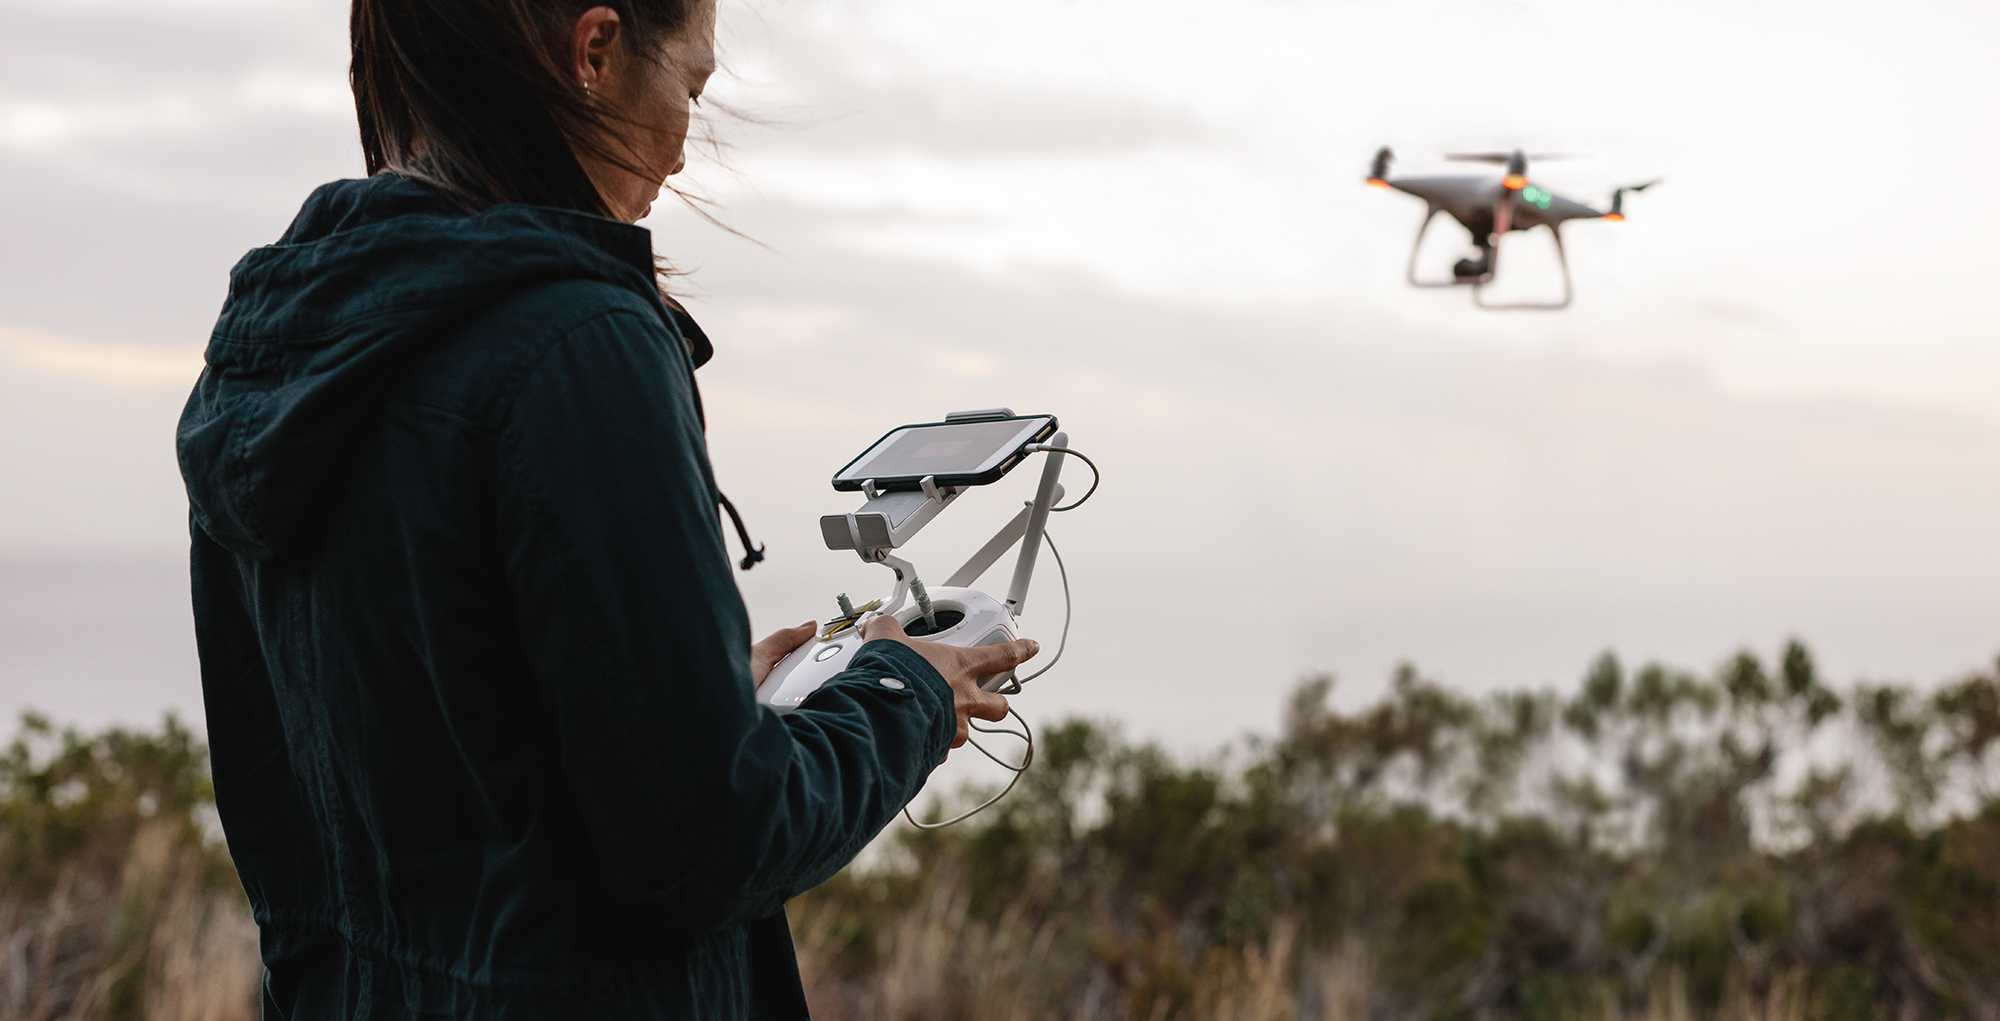
There are four basic mechanisms of movement that are relevant to any aircraft. Each mechanism is tied to one of the analog sticks.
Pitch
This refers to the tilting of the aircraft forward or backward. This can be done by pushing or pulling on the right analog stick.
Roll
This tilts the aircraft to either the left or right directions or how exactly you would expect an aircraft to go through a rolling motion. On the controller, this is done by tilting the right analog stick to the left or right.
Yaw
The yaw is the rotation of the aircraft either clockwise or counterclockwise relative to a vertical axis. Think of how you would move the aircraft if you were trying to capture a panoramic shot. This is done by tilting the left analog stick to the left (counterclockwise) or right (clockwise).
Throttle
The throttle allows for the aircraft to either gain or lose altitude. Using the left analog stick, throttle up can be done by pushing the stick forward and throttle down by pulling the stick backward.
Your controller may have dedicated buttons for the drone to take off, activate RTH, toggle between flight modes, quickly take photos, or start video recording. The layout of the controller will become second nature to you after some practice, but don’t let your practice flight be the first time that you familiarize yourself with the controller.
Charge the batteries
Before heading out for the practice flight, make sure that all your batteries are fully charged. Hopefully, you also purchased one or two spare batteries. There really is no advice for us to say here other than to use only the manufacturer-provided charger.
Your drone will likely be using Li-Po (lithium polymer) batteries. These are increasingly becoming common even in smartphones because of their low weight and high power density. However, they also require careful handling and proper storage. If possible, store and transport your batteries in a fireproof Li-Po bag.
Consider buying insurance
Unless you’re the type to have insurance on all your devices, getting insurance for your drone may seem like a silly idea. The big difference with a drone is that it only takes one unfortunate accident for your drone to be damaged so heavily that it needs to be repaired. This will certainly be disheartening if you spent several hundred dollars on your drone.
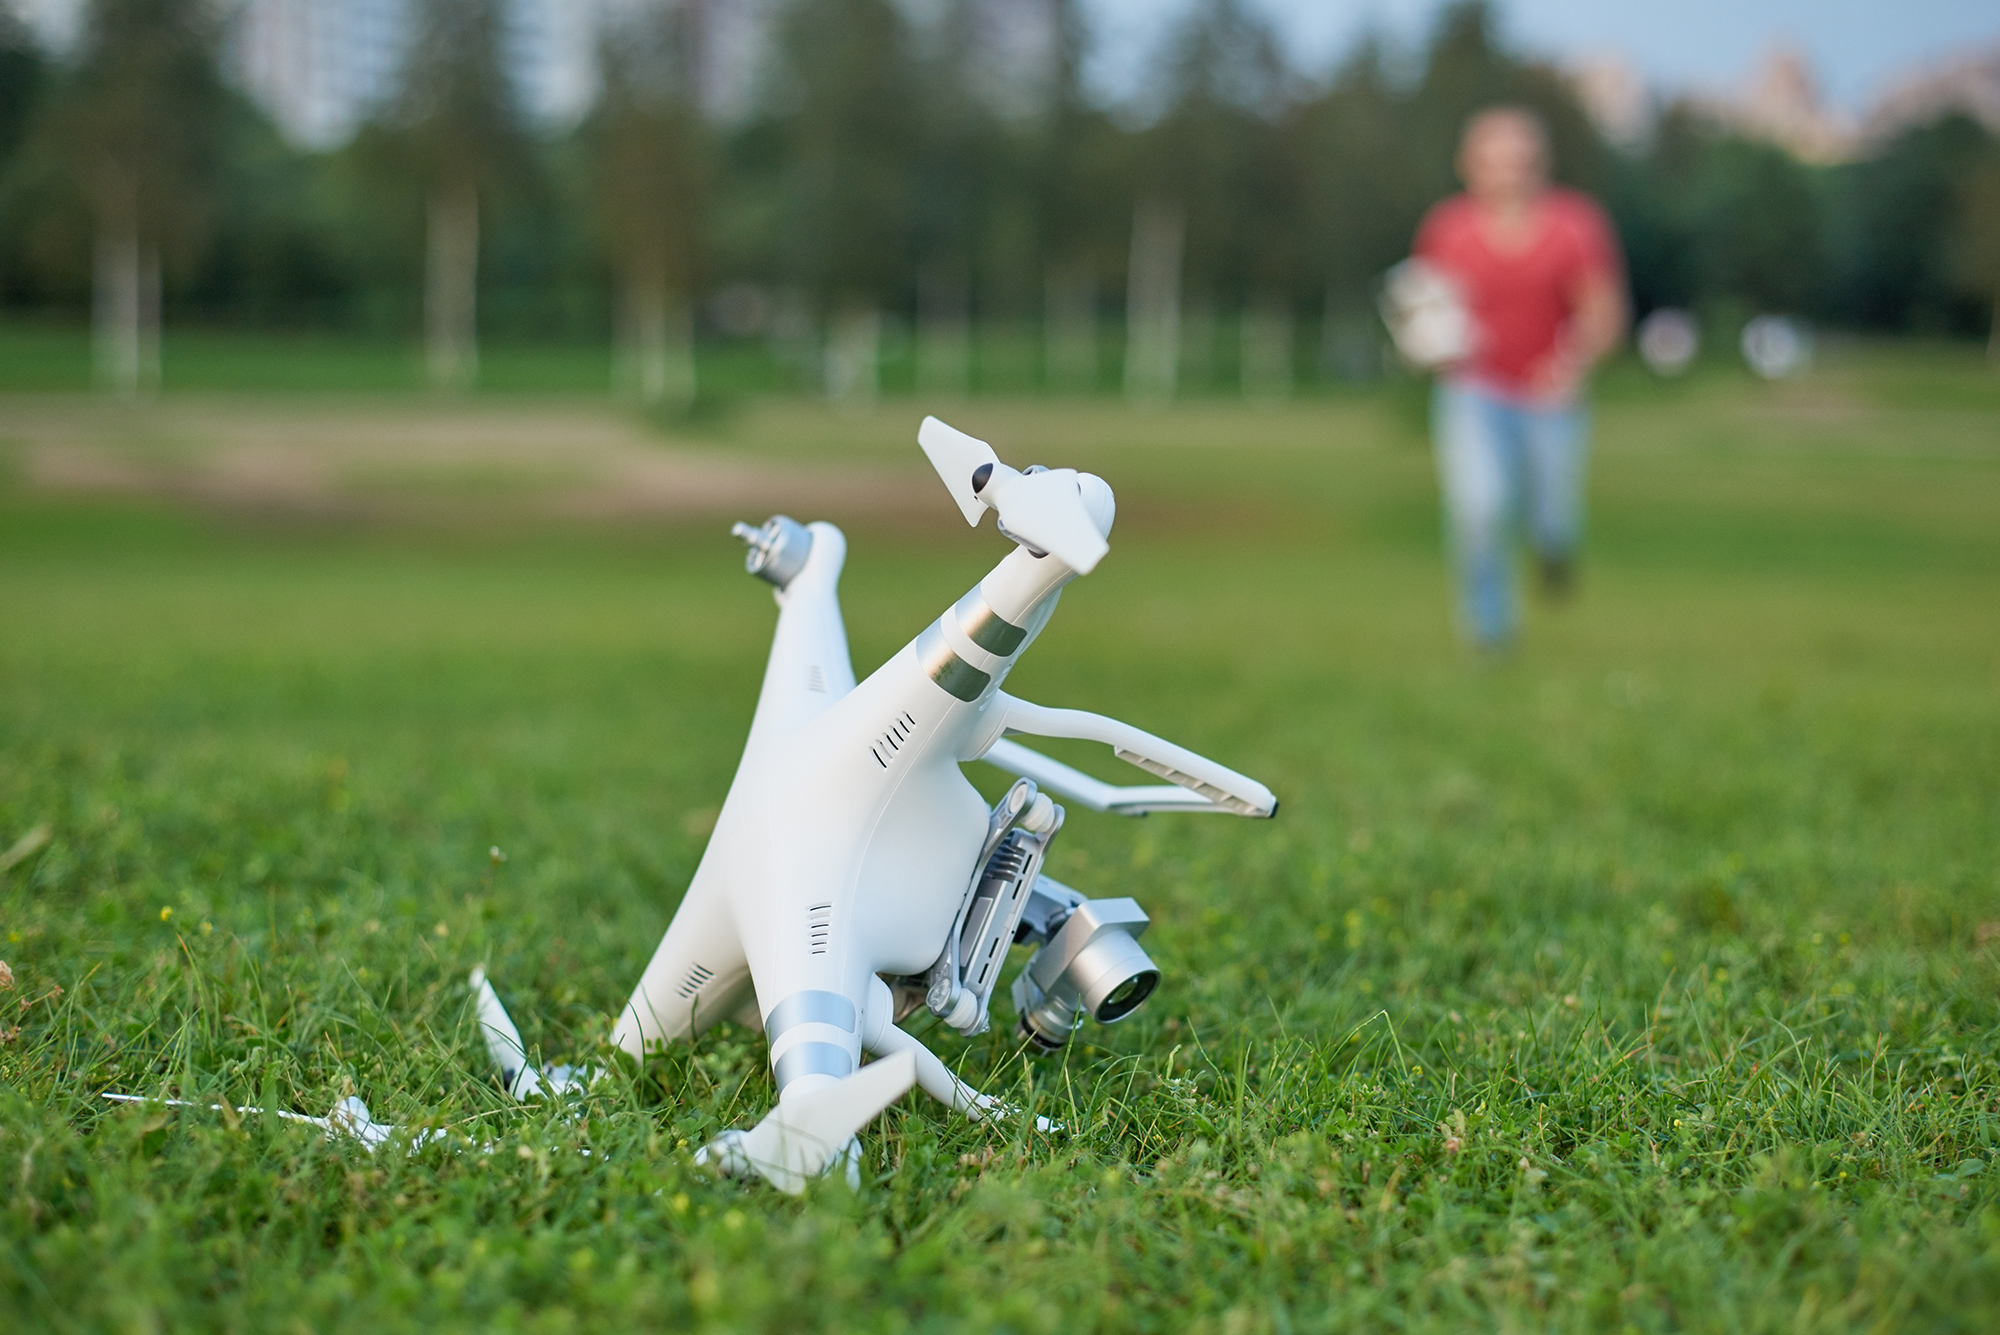
The good news is that drone insurance does not need to be expensive. Yes, there are traditional insurance schemes that will have to pay for an annual premium. However, there is also an alternative scheme that is described as “episodic” or “on-demand”. The way this works is that you sign up for insurance coverage only for the hours that you spend flying the drone.
On-demand insurance is likely the more practical option for recreational drone pilots, especially if you’re just planning to fly for several hours per week. For instance, SkyWatch costs only $7 per flight for liability coverage while they offer monthly plans for hull insurance. VeriFly is another popular insurance service that offers this type of scheme.
Drone insurance may seem like an unnecessary additional expense, but the peace of mind it provides is priceless. This is good advice for both beginner and experienced drone pilots.
Basic accessories to consider
Your drone likely already comes with a few essential accessories such as a carrying bag and chargers for the batteries. However, you will find out soon enough that you will still need more accessories to make the most out of your drone. During your training phase, here are some accessories that we think will prove to be useful for you:
Spare batteries
To make each training session worthwhile, we recommend having at least three fully charged batteries. Each battery will last only around 30 minutes, after all. Make sure to observe proper battery handling procedures. It’s best to keep each battery stored separately.
Spare propellers
When a drone crashes, the part that will most likely get damaged is the propellers. These propellers are nothing more than very light and fragile pieces of plastic or carbon fiber that can crack or shatter upon impact. When this happens, it would be frustrating to find that you don’t have any spare propellers for replacement. To avoid having to cut short your training sessions, make sure to always have a spare set on hand.
Landing pad
A landing pad has several different functions. For training, a landing pad provides a fixed and highly visible target for practicing your maneuvers or landing. It’s also a great way to protect your drone and its parts from dust and other debris that can blow around from the ground during landing or take-off. We recommend getting a landing pad that can be folded for easy transportation and storage.
Sun hood
Seeing the display of your remote controller is critical in setting up shots or monitoring telemetry data. This can be hindered by glare on the screen on particularly bright and sunny days. Fortunately, the solution is as simple as putting a sun hood on your controller. Take note that you should look for a sun hood that is specifically compatible with the controller of your drone.
Find a wide, open space to practice
For your practice flights, you will want to look for a wide-open space free from obstacles and with no nearby water hazards. Try and stay away from possible sources of large electromagnetic interference such as power lines and communications towers. Lastly, fly your drone a good distance away from animals and other people. Crashing on your first few flights is normal, so the strategy is to minimize any damage.
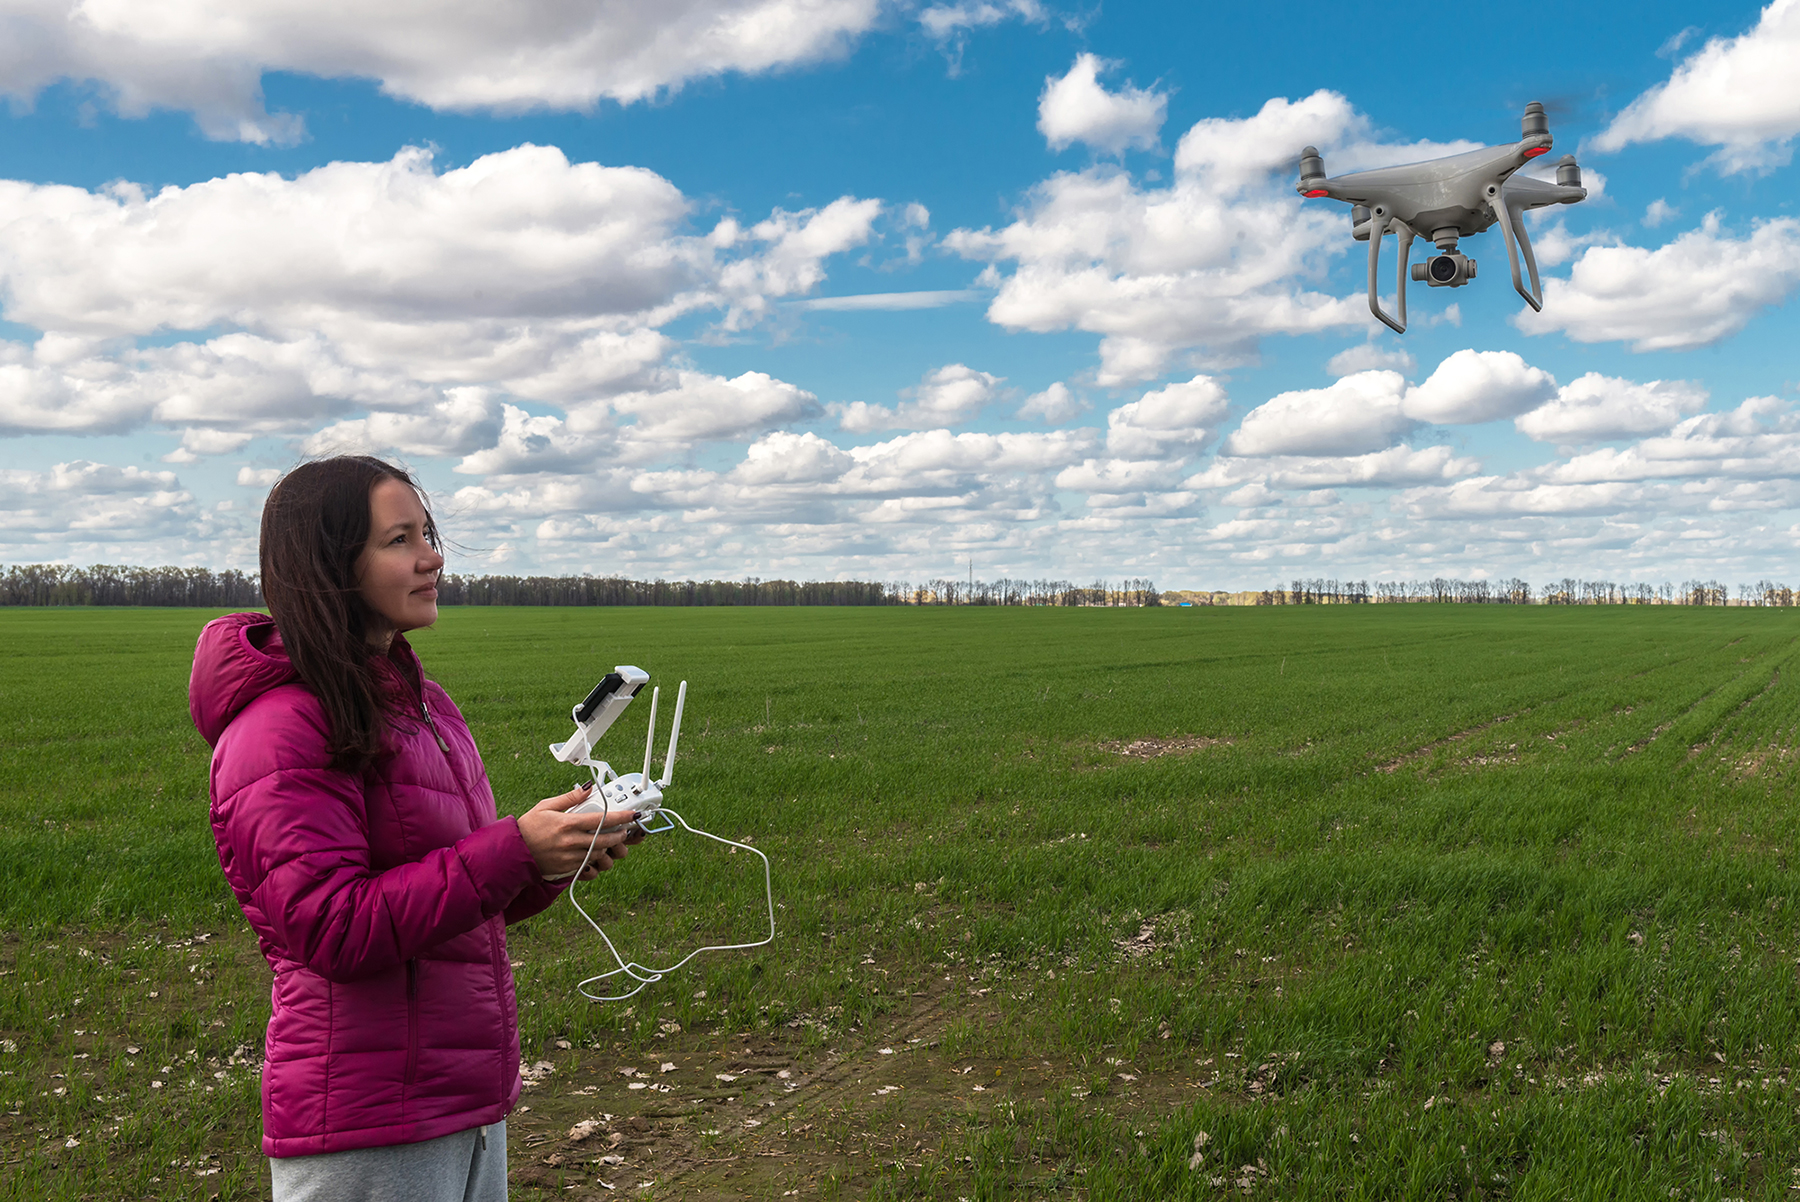
Here are a few more tips to create an ideal scenario for drone flight practice:
- Check the weather forecast so you can pick a day with no rain and strong winds.
- Make sure to fly in the uncontrolled airspace to skip the hassle of having to apply for an airspace authorization.
- Try to minimize any distractions when you fly your drone. It would be best to have another person with you to hold your phone and keep watch over your belongings.
- If your drone has a Beginner Mode, it would be a good idea to use it for your first few practice flights. This is just to help you minimize risk while becoming familiar with the controls. You will have to move away from Beginner Mode after a while.
- If there are people nearby, it would be courteous to ask them first if they don’t mind you flying a drone. Some people are not comfortable with having a drone flying nearby because of privacy concerns. The buzzing sound that drones make can also be an issue.
- Use a landing pad as a marker. A fixed reference point is useful when practicing drone flight maneuvers.
If conditions aren’t ideal, then don’t be hesitant to pack up your drone and try again on another day. There is no need to risk damaging your drone or causing injury to other people.
Try these 15 basic maneuvers
How do you practice flying a drone? There are probably countless ways to do so but doing it systematically will be a more worthwhile way to spend your time. To help develop the essential skills of drone flight, we have come up with the following basic maneuvers for you to practice. Some of these maneuvers will also be useful for capturing cinematic shots. You may also check out these maneuvers in action in our video demonstration.
Before doing any of these maneuvers, you will need to take off. This is typically done by pushing both sticks inward. This will start the propellers. You will then want to throttle up by pushing the left analog stick forward until you reach an altitude of about 20 feet. You can land your drone in between any of these maneuvers simply by throttling down until the drone reaches the ground.
Straight flight
Push on the right stick to pitch forward. This will move the drone away from you in a horizontal straight line. Do this for about 20 feet and then pull back the stick for the drone to pitch back to the original position.
Vertical box
In this maneuver, you will be drawing a vertical box in space using your drone. From a hover position, roll right by pushing the right analog stick. You then need to gain altitude using the throttle-up stick. Using the right stick again, do a left roll. Reduce altitude with the throttle down with the goal of going back to your original position. There is no specific size for the box you are drawing, so just go as far as you’re comfortable with.
Climb and travel
In this maneuver, you will be combining motion using the two analog sticks simultaneously. The goal is for the drone to move forward while also gaining altitude. This means combining the throttle-up and pitch-forward maneuvers. From the hover position, push both sticks forward. Once the drone has traveled a fair distance, try to return it to its original position by combining throttle down and reverse pitch.
Reverse sensing
In this maneuver, you will develop a sense of orientation based on the heading of the drone or the direction it is facing at. Keep in mind that all drone controls are relative to the drone, not the controller. This emphasizes the importance of keeping your eye on the drone at all times to have a sense of both its location and attitude.
From the starting position, do a forward pitch until the drone is a fair distance away from you. You will then want to do yaw in any direction using the left stick for 180 degrees or until the drone is facing towards your direction.
From this position, use the right stick to roll left and right while taking note of the motion of the drone relative to you. Similarly, do pitch forward and reverse maneuvers. From this perspective, every move that the drone does is in reverse orientation to you. This can be quite confusing for beginners, but you get used to it after a while.
With the drone still facing towards you, do a forward pitch until it arrives at its original position. From here, do yaw in either direction so that the drone is facing away from you again.
S-Turn
As the name implies, we will be doing a series of turns that are S-shaped or snake-like. This will be a combination of pitch forward and either roll left or roll right. This can be done using only the right stick.
From the starting point, push the right stick forward diagonally. This should translate to a diagonal motion of the drone. Do this diagonally to the right, then to the left. You can repeat the process as many times as needed. The maneuver may seem complicated, but the controls are very intuitive.
After making a few S-turns, you will need to return the drone to its original position. Just do the reverse of the S-turns you did by pulling back on the right stick in diagonal directions.
Rectangular pattern
We will now be drawing a horizontal rectangle with our drone. This whole exercise can be done using just the right stick. From the starting position, roll right, pitch forward, roll left, and reverse pitch. Your goal is for the drone to come back to its starting position.
This rectangular exercise may seem incredibly simple at this stage. To make it more challenging, a good idea would be to yaw the drone 180 degrees so that it is facing towards you. From this orientation, repeat the rectangular pattern. Take note that the controls will be reversed so your spatial awareness will really be put to the test.
Rounded corner rectangular pattern
The goal for this maneuver is to recreate the rectangular pattern but use only the yaw and pitch controls. From the starting position, yaw the drone clockwise 90 degrees and pitch forward until it reaches the bottom right corner of your rectangle. At this point, yaw the drone counterclockwise by 90 degrees and pitch forward again until it reaches the top right corner of the rectangle.
Continue drawing the rectangle with pitch forward movements while using the yaw to change the drone’s orientation. Again, the goal is to fly the drone back to its original position.
This exercise stresses the importance of maintaining visual contact with the drone and relying on visual flight rules. Swapping between different orientations is also a great way to get used to shifting motion controls.
To add another layer of complexity, you can repeat this exercise but try to fly the rectangle with rounded corners. This means combining yaw and pitch forward actions when the drone approaches the corners of the rectangle. This is a great maneuver because it means that the drone does not need to stop to make sharp turns. This is a huge time-saver and will be very useful for your future drone operations.
Vertical triangle
In this exercise, you will be drawing a vertical triangle with a horizontal base using your drone. From the starting position, do the horizontal base first by doing a roll right. From here, you will be approaching the top vertex of the triangle by combining a roll left (right stick) and a throttle up (left stick). From the vertex, you will try and come back to the original position with a roll left (right stick) and throttle down (left stick).
The exercise may seem simple but any motion that requires simultaneously using the left and right sticks can be tricky. Do this exercise a couple of times, ideally without having to stop at any of the corners of the triangle.
Follow with yaw
You can do this exercise if there is a road or walking trail near your practice area. Orient your drone so that it is facing the road. Your goal is to fly parallel to the road using the roll left or right controls. Since roads are not fully straight, you will have to account for the curvature of the roads by yawing the drone in either clockwise or counterclockwise directions.
If you’re finding it hard to understand the goal of the exercise, imagine that you’re trying to shoot a video of a car driving down the road. You will want to keep the car in the center of your shot while following it around from a fairly constant distance.
Orbit
In this exercise, we will be keeping a subject as the focus of the drone’s camera while the drone is rolling in either left or right directions. A tree in a park, a picnic table, or even your friend will do perfectly fine as a subject.
You will need to combine roll controls with yaw to keep your subject in the center of the camera. This means having to use both left and right sticks simultaneously. This can be quite tough so you will have to take it slow. Try to make the flight as smooth as possible.
This exercise stresses the importance of not going all out when moving the sticks in your controller. Light movement and subtle adjustments are essential if you want to capture smooth footage with your camera.
Forward reveal
The next exercises will focus on creating cinematic shots by combining your drone flight controls with gimbal controls. These are fairly common techniques that you can modify or combine for your aerial videos.
In this maneuver, we will be combining a pitch-forward motion with the gimbal slowly tilting up to do a dramatic reveal. To start the shot, tilt the gimbal down from the starting position by about 60 degrees. While moving forward using the right stick, slowly tilt the gimbal up. You will want to stop the reveal with the horizon at the center of the screen, but your preference may vary based on the scenario.
Corkscrew
In this exercise, you will set up the drone directly above a subject with the gimbal facing directly down. Using just the left stick, throttle up while doing yaw in either direction. This creates a dramatic shot that slowly reveals the surroundings of the subject. It’s best to do this very slowly to maintain smooth motion.
This shot can reveal other elements outside of the subject or emphasize the subject with negative space. Either way, this is an interesting shot that is very easy to do.
Zoom reveal
This is a very common technique used by drone pilots, mostly because it is also a common automated camera mode in many drones. However, learning how to do a zoom reveal manually is also a good way of testing your drone flight skills.
To start this shot, you will want the drone to be at a low altitude (about 10 feet) with the camera focused on the subject. You will then slowly reveal the surroundings of the subject by combining a pitch reverse with throttle up, all while making sure that the gimbal keeps the subject at the center of the camera.
If you’re comfortable enough doing this maneuver, you can even try moving the gimbal to highlight any impressive scenery or environment around the initial subject. Again, the beauty of doing a manual zoom reveal is that you can be more creative with it.
Yaw and reveal
In yaw and reveal, you will be shifting the focus of the camera from one subject to another part of the environment. The starting point will be similar to that of the zoom and reveal – flying at a low altitude with the camera pointed to the initial subject.
Using a combination of the yaw stick and gimbal control, you will want to turn the drone either in the left or right directions while slowly panning the camera up.
Tracking
In this technique, you will be combining everything you have learned so far to keep a moving subject within the frame of the camera. The exact maneuver will depend on how you want to frame your shot. You can do a simple pitch forward with gimbal control if you’re following behind the subject. Following side-by-side is a bit more involved, as you will need to combine gimbal control with yaw and roll.
To make this kind of shot more cinematic, it’s a good idea to try and maintain the same distance between your drone and the subject. This requires analyzing the movement of the subject and making decisions moment by moment on how exactly you should maneuver your drone. This is something you learn over time with some practice.
If you feel that you have learned a lot from these maneuvers, then we have even more for you. Our Drone Maneuvers Mastery will take you through 50 flight maneuvers arranged in progressive difficulty levels. This will help you become a pro in capturing cinematic shots with your drone.
Commercial drone pilots and those who fly drones for public safety agencies may also benefit from finishing our NIST UAS Made Easy course. This course will take you through the process of creating standard practice lanes as designed by the National Institute of Science and Technology (NIST). The NIST standard is a set of 10 aerial tests designed to quantify the level of skill of a drone pilot.
Final thoughts
While it’s true that you can learn how to be a good drone pilot simply by just flying around, it would not hurt to be a bit more systematic with the learning process. Our list of basic drone maneuvers is designed to develop the fundamental skills both for drone flight and videography.
Even more important for new drone pilots is to be able to navigate through all the federal and local requirements for drone flight. Matters such as drone registration, safety testing, and airspace restrictions are all essential and should soon become common knowledge for you.
