When it comes to flight simulator games, there really is no recent title that can hold a candle to 2020’s Microsoft Flight Simulator. Through the use of cloud-hosted satellite imagery, Flight Simulator allows you to fly over highly detailed environments based on real-world features. In a year when lots of people were stuck indoors, Microsoft Flight Simulator gave us some degree of freedom, even if only virtually.
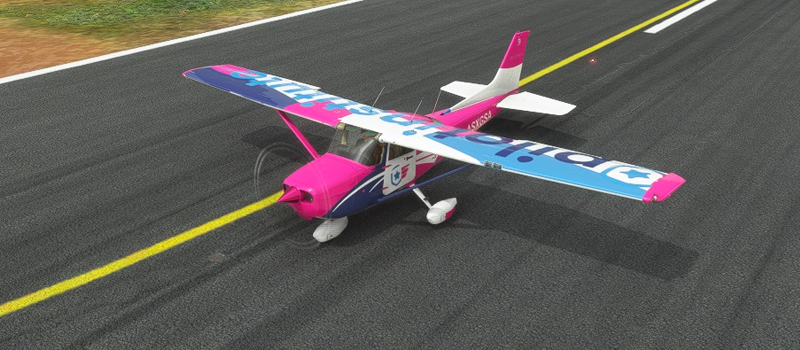
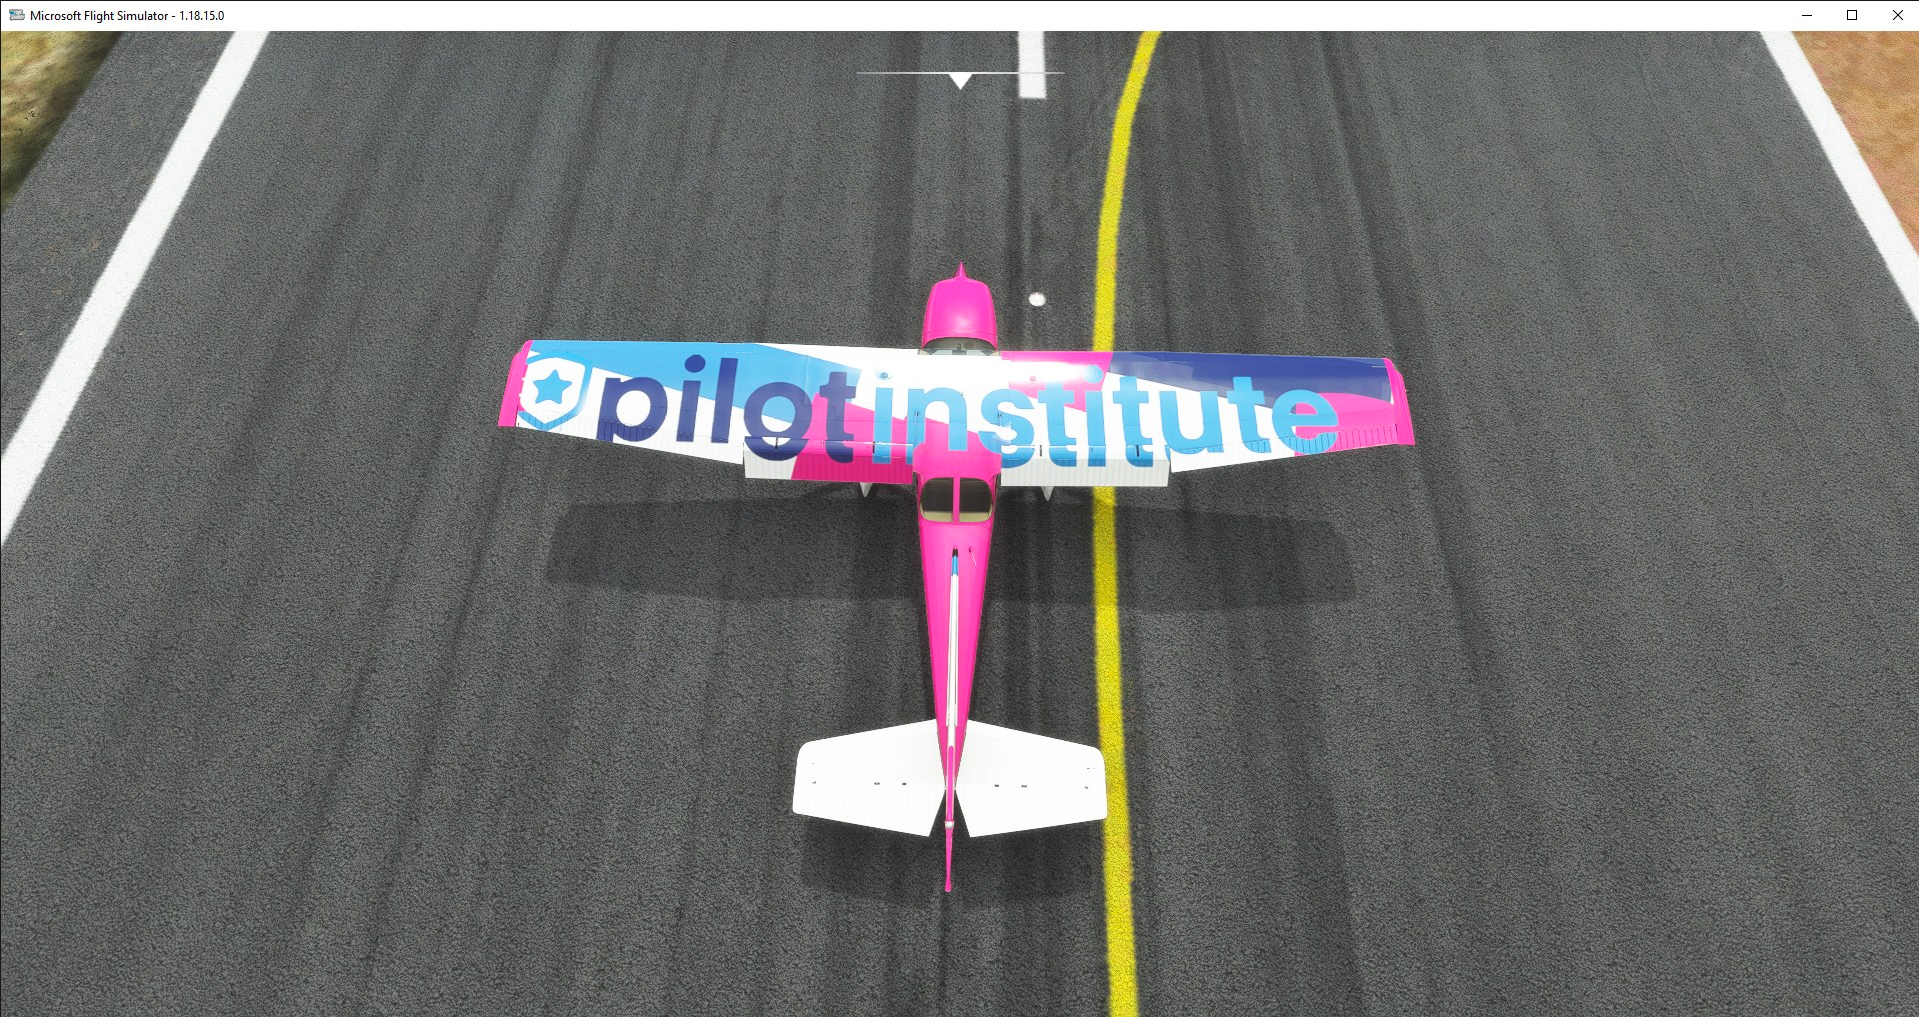
Part of the experience of Flight Simulator is giving your aircraft a fresh coat of paint. This can be something that shows off your personality, or just something that looks cool. For us, it has been highly entertaining to fly a plane with the Pilot Institute colors and banner.
Our readers can now share this experience as we are offering the Pilot Institute skin/livery for Microsoft Flight Simulator for free download. The livery is specifically designed for the Cessna 172 Skyhawk, one of the most popular fixed-wing aircraft used for flight training.
Installing the Pilot Institute livery
Right now, you can only use custom liveries if you play Microsoft Flight Simulator on PCs. This option should be available for PC players whether you play the Steam version or via Xbox Game Pass for PC. For Xbox console players, your only options are the liveries available in the Xbox marketplace.
Once you have downloaded and unpacked the Pilot Institute custom livery, you just need to copy it into the Community folder of Microsoft Flight Simulator. Here are the common paths if you installed it on the default destination:
- For Steam users or via Windows install
C:\Users\[Your User Name]\AppData\Local\Packages\Microsoft.FlightDashboard_8wekyb3d8bbwe/LocalCache/Packages/Community
- For Xbox Game Pass users
C:\Users\[Your User Name]\AppData\Local\Packages\Microsoft.FlightSimulator_8wekyb3d8bbwe/LocalCache/Packages/Community
If you installed it on a different folder and cannot quite remember where to find it, you can also get the location via the welcome screen of Microsoft Flight Simulator. Just follow these steps:
- Go to Options
- Go to General
- Select Developers and turn Developer Mode on
- This should reveal a very small menu at the top of the screen. Select Tools in this menu.
- Go to Virtual File System
- This will open a pop-up window. Select Watched Bases
- At the bottom of the text, you should see the location of the Community folder.
- Exit the game, go to the Community folder, and paste the necessary files
Once the liveries have been placed on the proper folder, they should already appear in-game. To use the Pilot Institute livery, navigate to your hangar and make sure to choose the Cessna 172 aircraft. From here, you should see an option at the bottom of the screen for liveries.
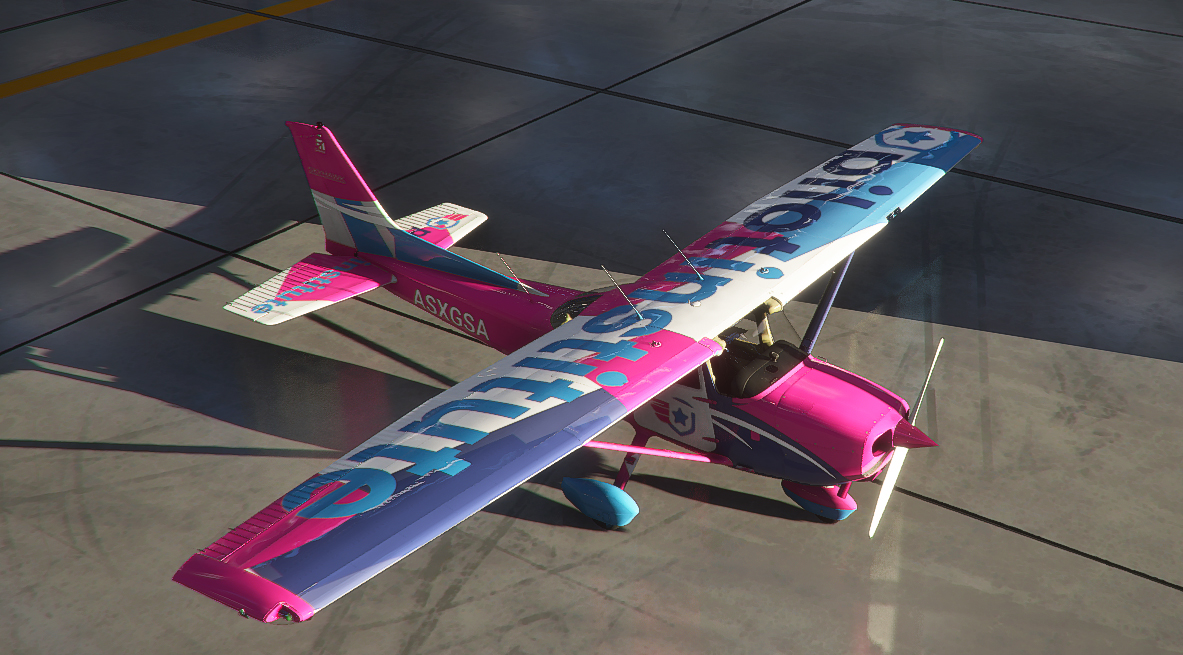
You can also choose a livery right before starting a flight mission. When you are at the flight plan screen, just select the Cessna 172 as your plane and the menu for liveries should give you the option to use the Pilot Institute skin.
We would absolutely LOVE to see the Pilot Institute livery in action in your games. We hope that everyone has fun with it and tags us in your in-game screenshots.
